What you'll need:
1/2 yard of outer fabric, Insulbright and interior fabric
velcro
Cut 2- 13 1/2 x 10 inch out of each fabric
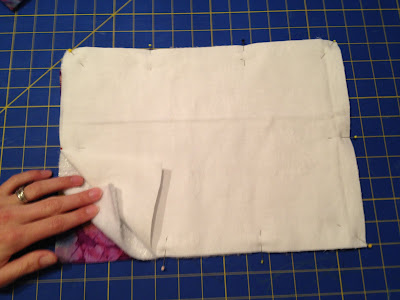
 Layer your pieces with the outer fabric facing down, Insulbright with the shiny side facing up, then your interior fabric and pin together
 Using 1/2 inch seam allowance, sew all the way around through all three fabrics. I used my serger. If you use a serger, use a sewing machine to sew across the top, backstitching at each end.
 Carefully cut the Insulbright out of the seam allowance at the top making sure not to cut the other two fabrics. This will make it less bulky to fold over.
 Fold the top over 1/4 inch, pin and sew. Don't worry about the raw edge because your velcro will cover it.
 To make the pull tab, cut two 2 x 4 inch strips from your outer fabric
 Fold the long edges over 1/4 inch and press
 Fold the strip in half and use your edge foot to sew along each side.
 Sew velcro across the top of each piece with the tab between the velcro and fabric. I arranged my tabs to rest next to each other instead of uniform.
 Place your pieces outer sides together and sew/surge down one side, across the bottom and up the other side.
 Fold the bottom flat so the corners come to a point. Draw a line where a ruler measures 3 inches across.
 Sew or surge across the marked line. If you sew, then cut off the excess fabric. If you don't have a serger, use a zigzag stitch on your raw edges for a nicer finish.
 Turn the bag right side out and you have an insulated lunch bag!

No comments:
Post a Comment